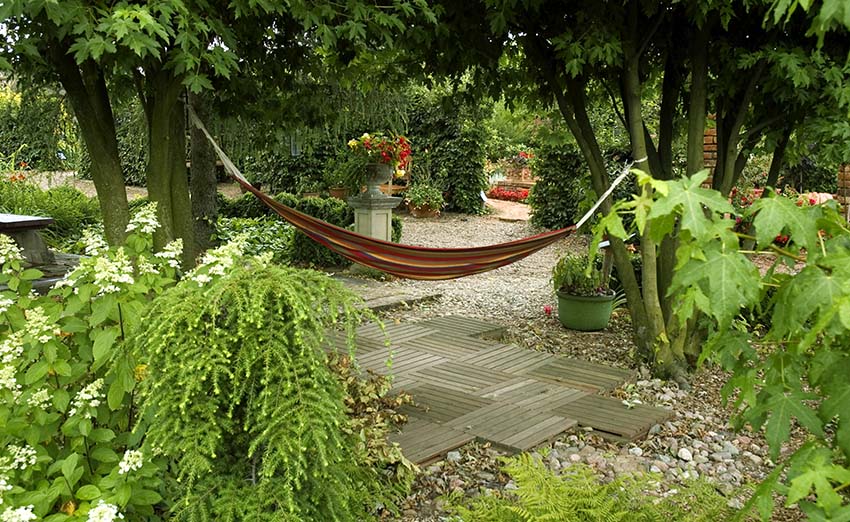
How to Build a Pea Gravel Patio on a Budget
A pea gravel patio is one of the most affordable ways to create a defined outdoor living space. A 10x12 setup can cost well under $300 in materials if you do the work yourself, compared to $1,500 or more for pavers or poured concrete.
The difference between a pea gravel patio that looks polished and one that looks like a mistake comes down to three things: proper excavation, a solid weed barrier, and edging that holds. Get those right and the finished result looks completely intentional.
This guide walks through every stage of the build, from breaking ground to setting furniture, with specific product picks that actually work.
Best Edging for Containing Pea Gravel: Dimex EasyFlex
Gravel is only as neat as the border containing it. The most common failure point in DIY pea gravel patios is edging that shifts after the first winter, letting gravel migrate into the lawn and leaving a ragged edge that never looks right. A proper edging system is the single investment that separates a tidy patio from one that looks unfinished.
Dimex EasyFlex is what professional landscapers actually spec on residential installs. The polyethylene material bends around curves without cracking, and the 4-inch height keeps a full 2-inch layer of pea gravel contained. The included 10-inch anchor spikes hold it through freeze-thaw cycles without lifting or shifting.

Dimex EasyFlex No-Dig Plastic Landscape Edging Kit, 50-Foot
$34
8,400+ reviews
Flexible polyethylene edging with 10-inch anchor stakes that bends around curves and holds through freeze-thaw cycles without cracking.
Shop on Amazon →Best Weed Barrier for Under the Gravel: ECOgardener Pro Fabric
Landscape fabric is one of those things where buying cheap costs you more in the long run. Thin fabric tears when you rake gravel to level it, and lightweight woven types let weed roots anchor themselves within a season or two. A 3x100 foot roll of quality fabric covers a 10x12 patio with enough left to overlap every seam by 6 inches, which matters more than most guides admit.
ECOgardener's Pro Weed Barrier is 5-ounce nonwoven polypropylene, noticeably heavier than what most big box stores stock. It stays intact when you rake gravel around to level it and does not break down under UV exposure the way thinner fabrics do. Pin it down with landscape staples every 18 inches, and the gravel compresses it flat against the soil.
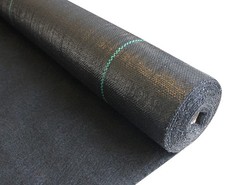
ECOgardener Premium 5oz Pro Garden Weed Barrier Landscape Fabric, 3 x 100 ft
$32
6,200+ reviews
Heavy-duty 5oz nonwoven fabric that handles raking and UV exposure without tearing, covers a full 10x12 patio with room for overlapping seams.
Shop on Amazon →Best Tool for Compacting the Base: Razor-Back Tamper
Pea gravel over loose soil gives you a surface that shifts and dips every time it rains. The right approach is 2 inches of compactible gravel at the bottom, tamped firm, then 2 inches of pea gravel on top. That base layer does the structural work. Skipping it is the reason so many DIY gravel patios end up lumpy by the second season.
The Razor-Back tamper has an 8x8-inch flat head and a cushion grip handle that reduces fatigue over 15 to 20 minutes of tamping, which is about what a 10x12 base takes. Work in overlapping passes to avoid low spots. If your project runs larger than 15x15 feet, a plate compactor rental from a local hardware store costs about $60 a day and is worth it.
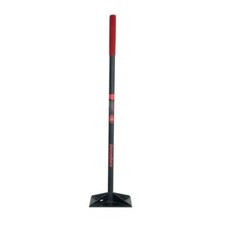
Razor-Back 49-Inch Tamper with Cushion Grip Handle
$47
1,800+ reviews
8x8-inch flat tamping head with a fatigue-reducing cushion grip, the right size for a DIY patio base without being too heavy to use solo.
Shop on Amazon →Best Seating for a Pea Gravel Patio: Suncrown 3-Piece Wicker Bistro Set
Pea gravel patios under 12x12 feet are best served by a bistro setup rather than a full dining set. Two chairs and a round table fit comfortably in a 6x6 corner of the patio, leaving the rest of the space open for a fire pit or planters. A smaller furniture footprint also means less pressure on any single spot in the gravel, which keeps the surface more stable over time.
Suncrown's 3-piece wicker bistro set has a powder-coated steel frame wrapped in all-weather resin wicker that does not fade or unravel after a few seasons in the sun. The two armchairs have a curved back that holds you without feeling stiff, which is a low bar many budget bistro sets still fail to clear. It is not a set you need to haul inside for winter, which is exactly what you want for furniture sitting on a year-round gravel surface.
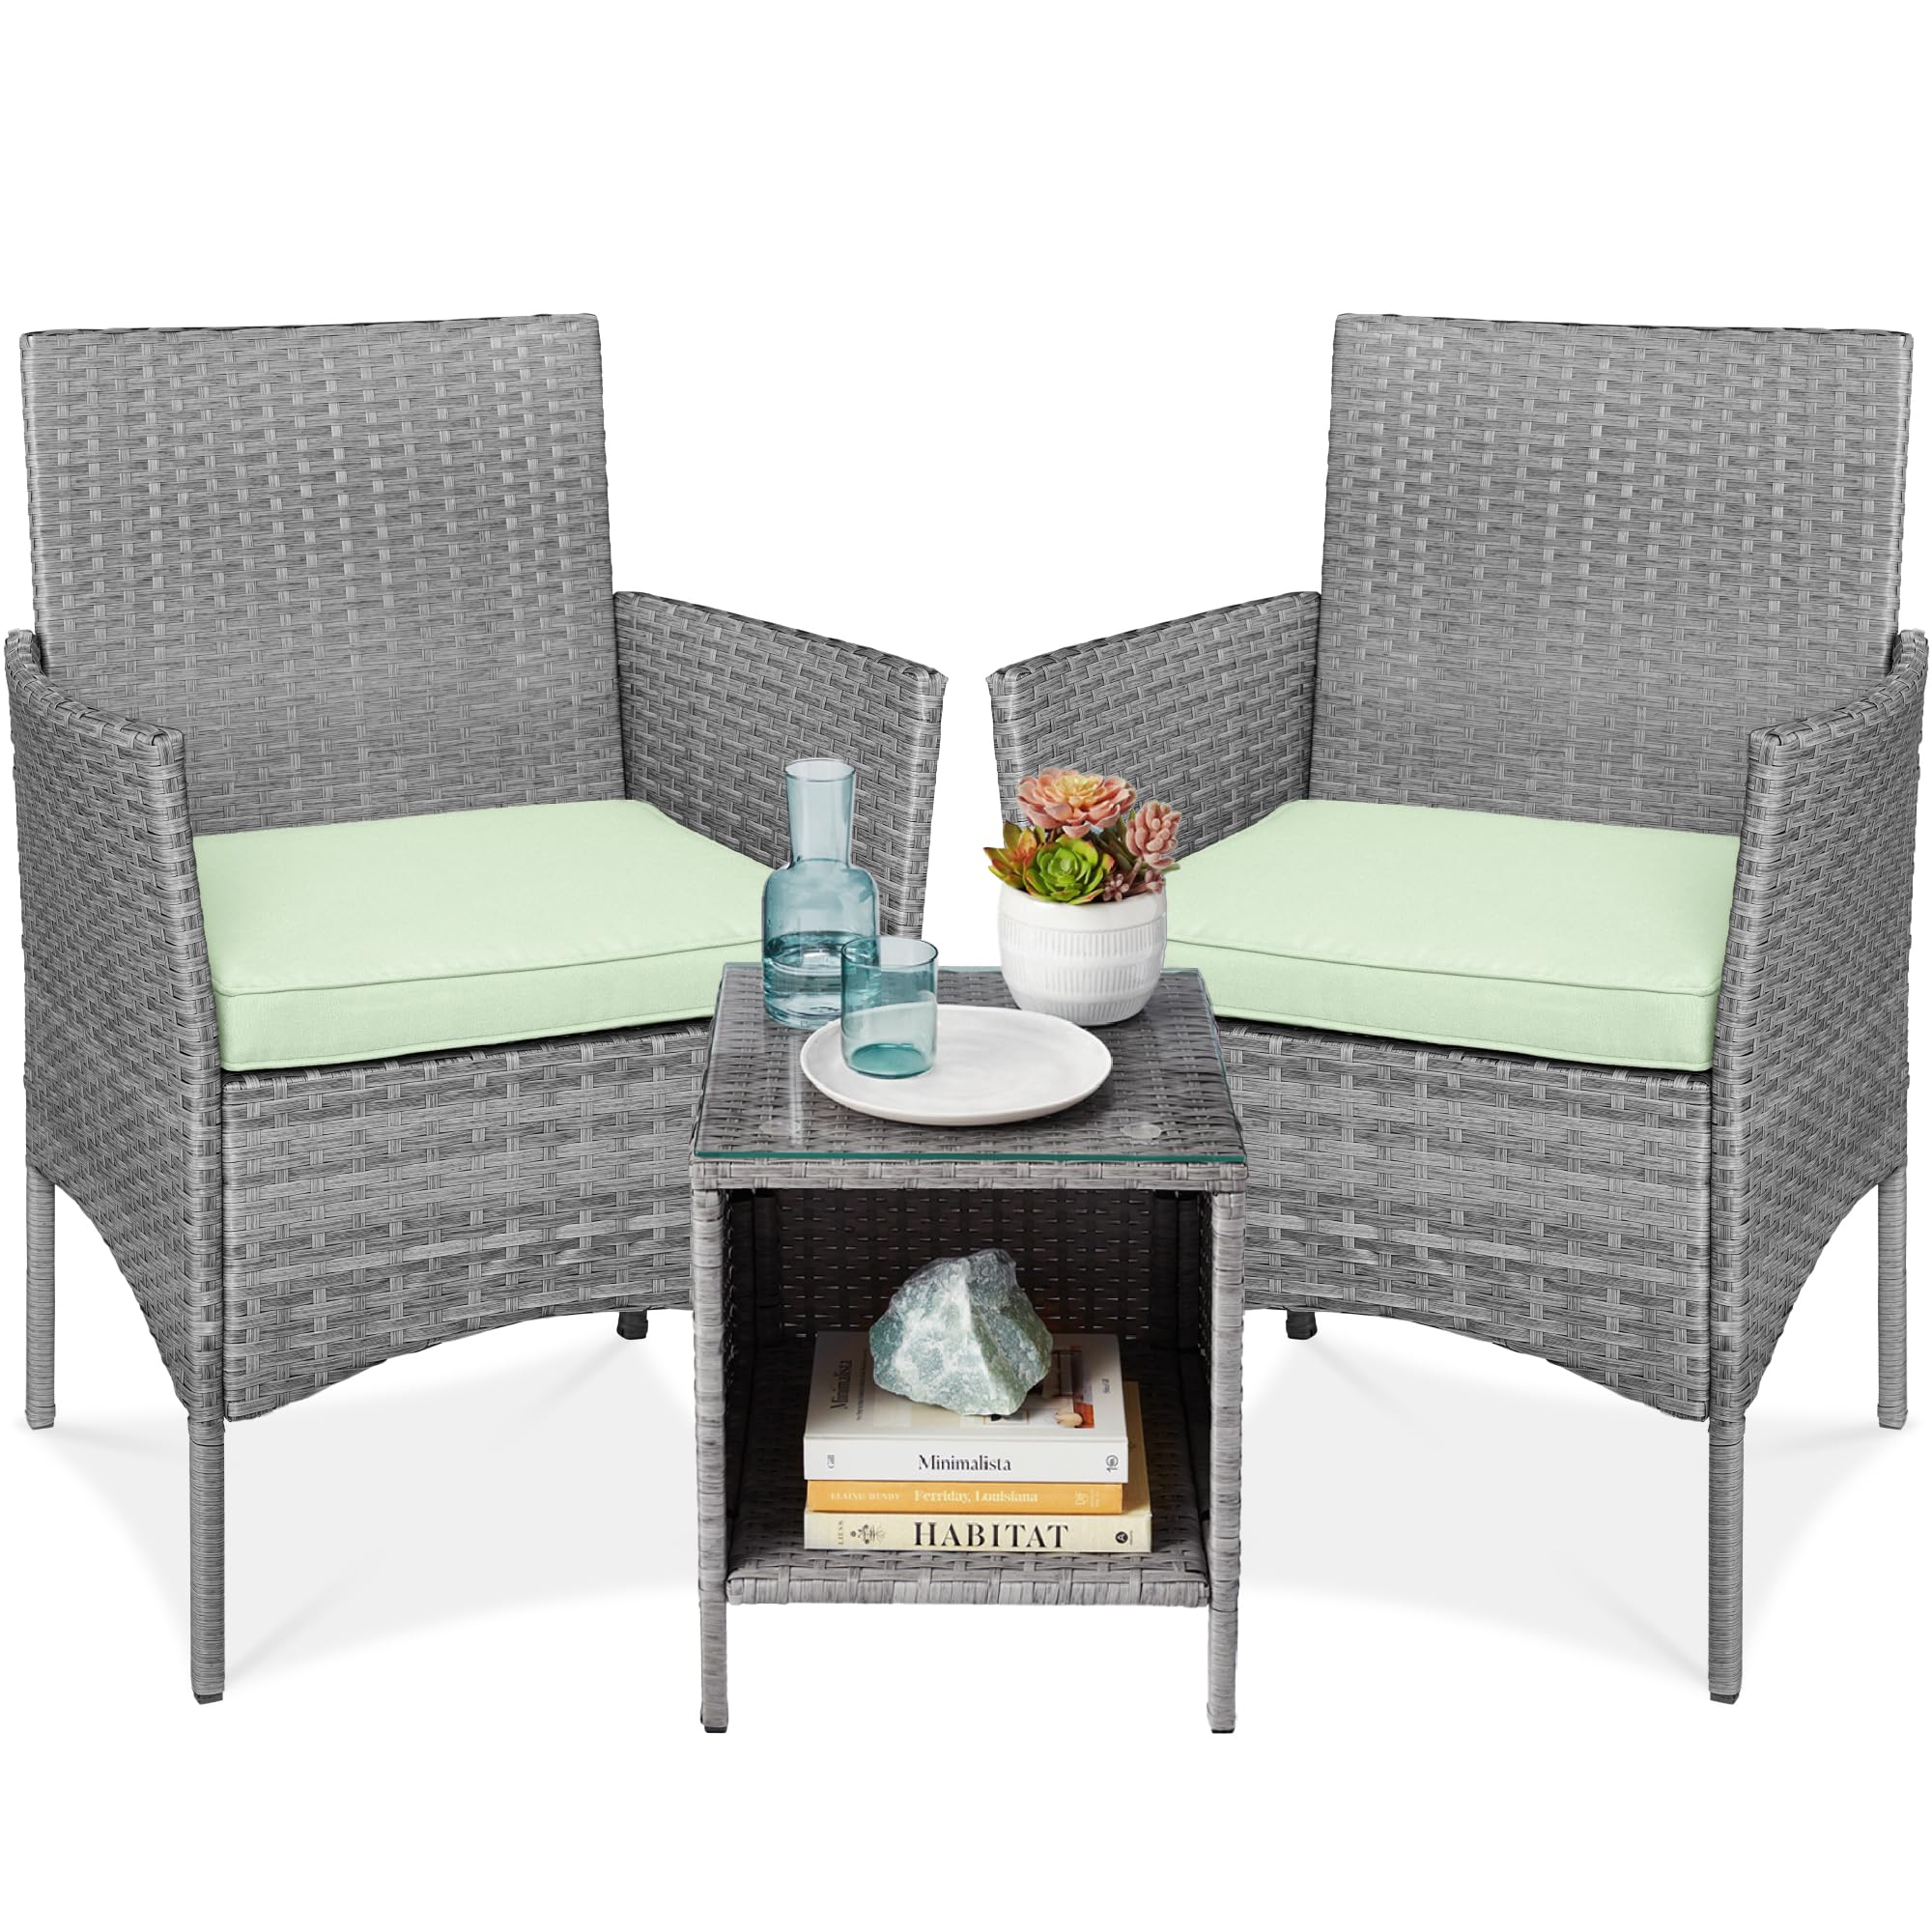
Suncrown Outdoor 3-Piece All-Weather Wicker Bistro Set
$189
3,100+ reviews
Powder-coated steel frame with fade-resistant resin wicker that fits a 6x6 corner of a pea gravel patio and stays out year-round without issue.
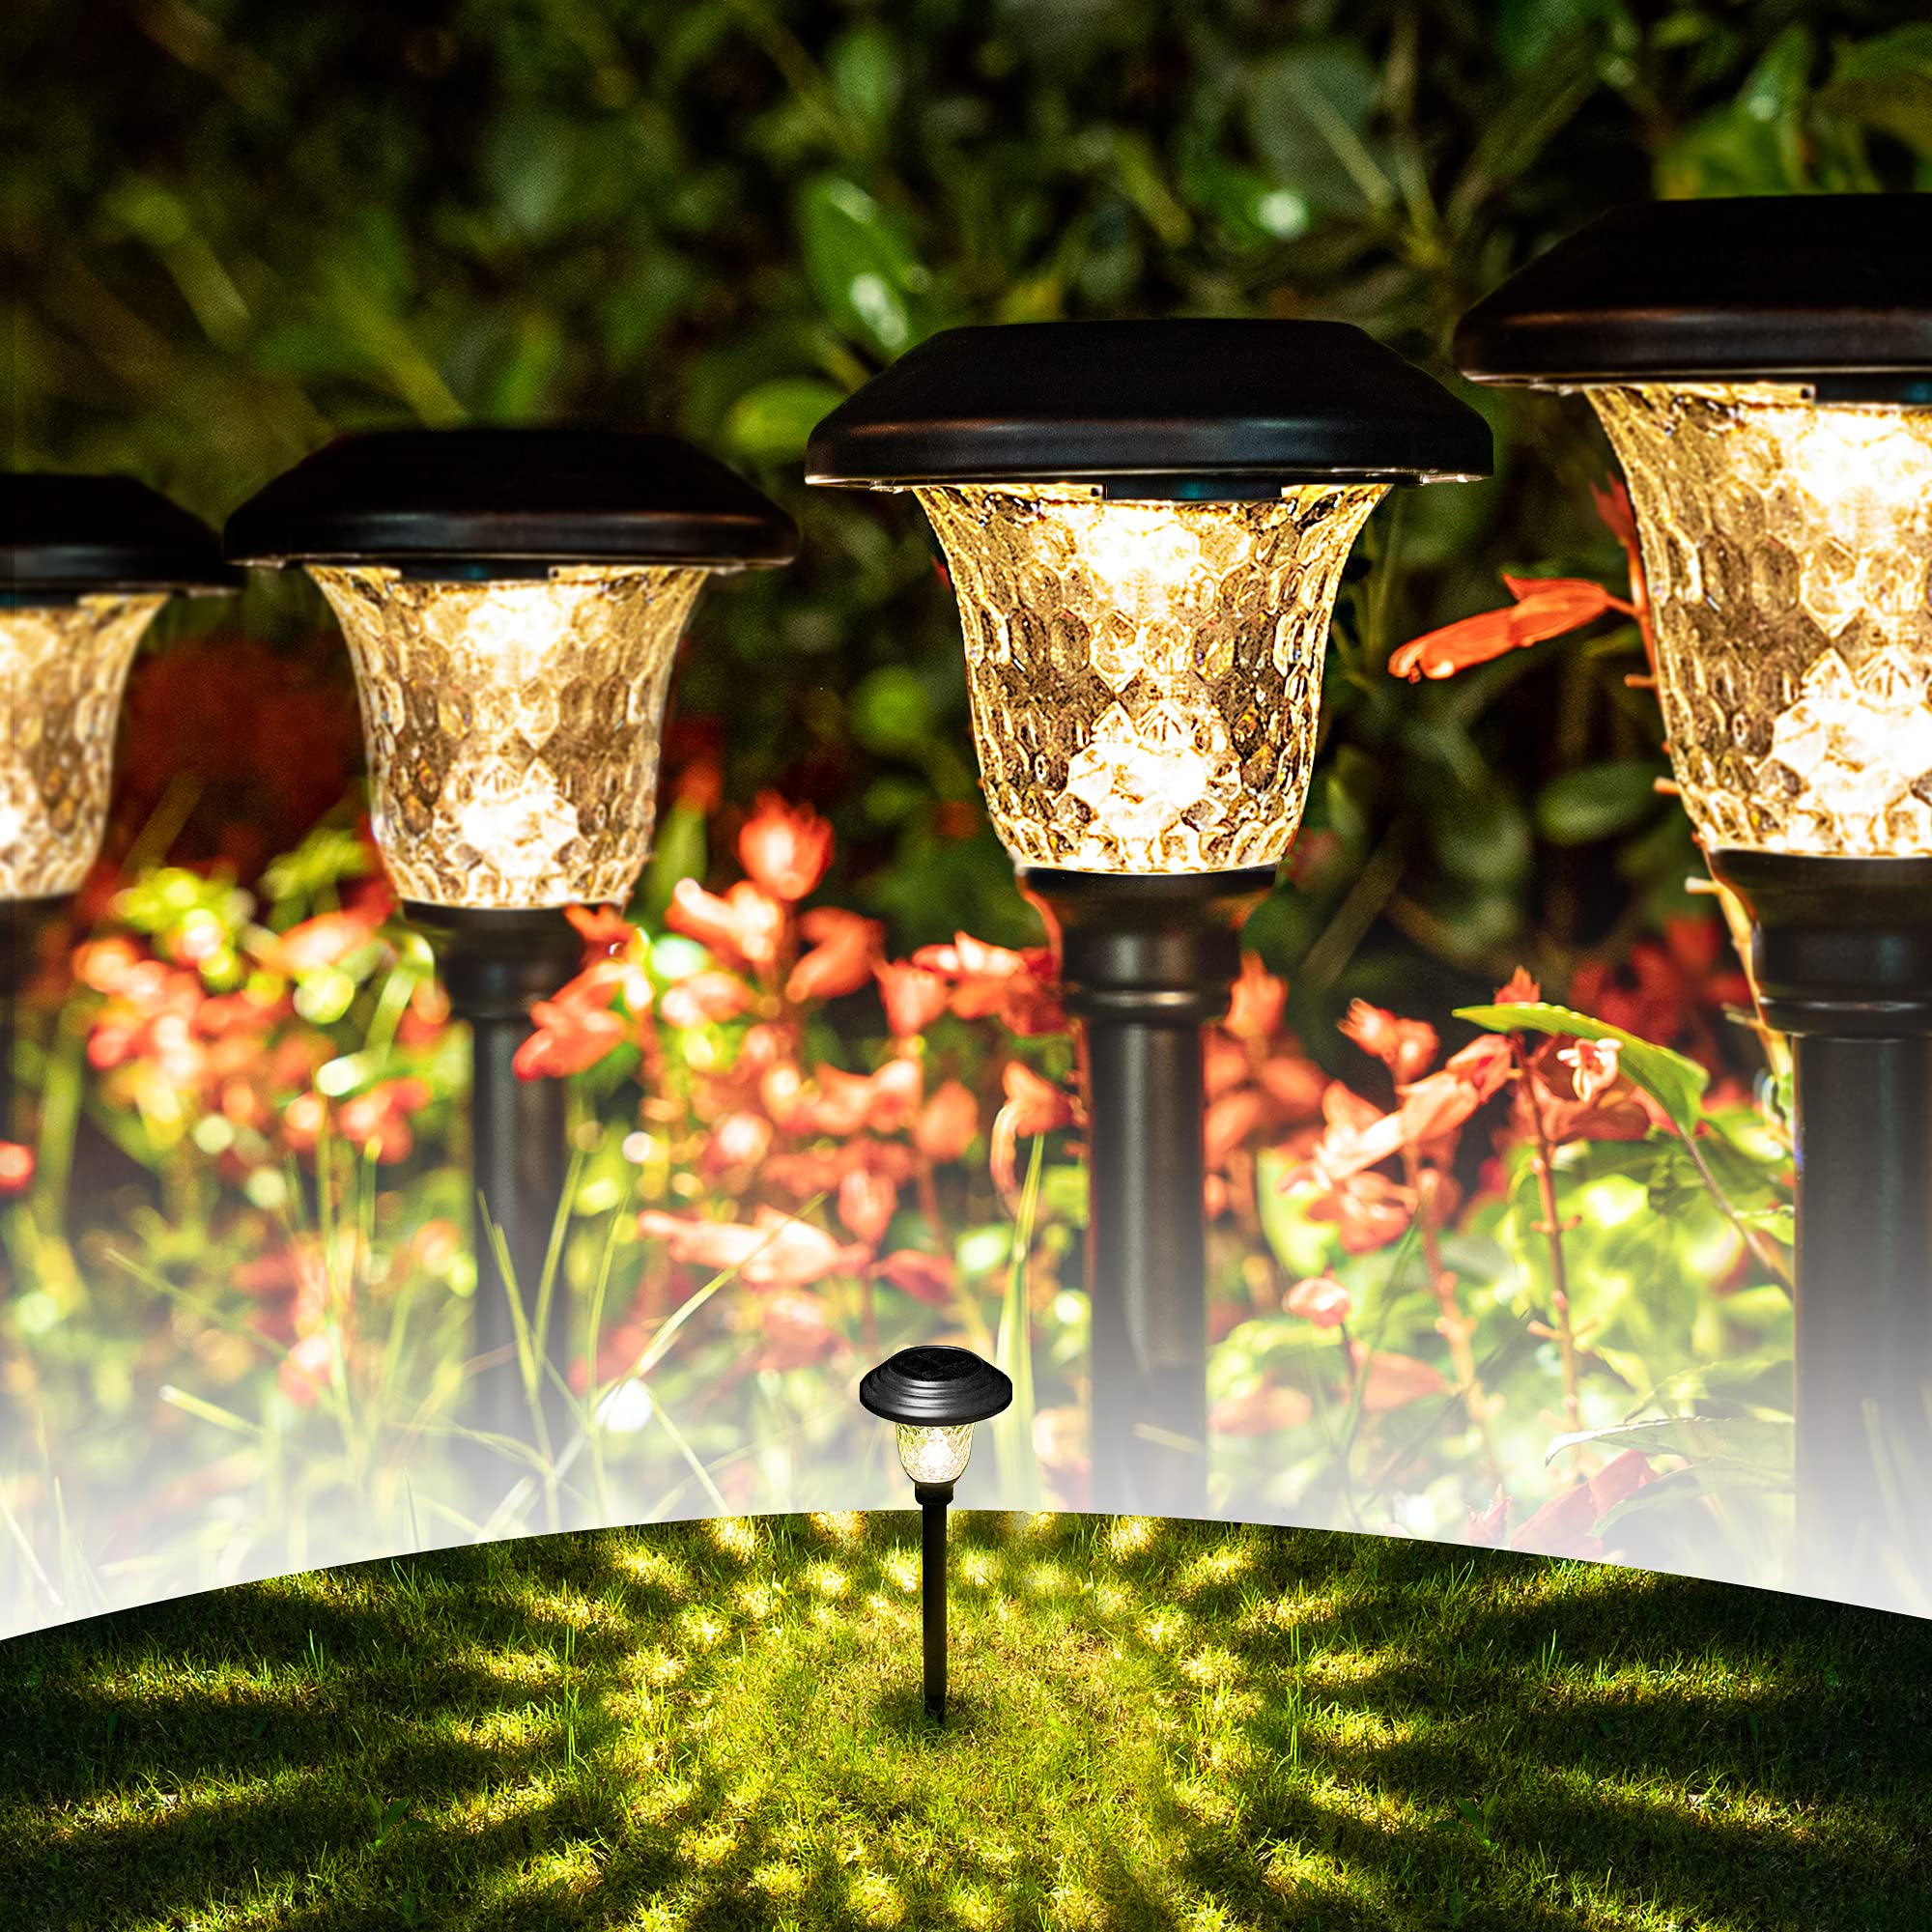
Shop on Amazon →Best Lighting for the Perimeter: GIGALUMI Solar Pathway Lights
Lining the edge of a pea gravel patio with solar pathway lights does two things at once. It defines the boundary clearly after dark so people do not step off the gravel, and it gives the whole space a finished, landscaped look without running any wiring. One 8-pack spaced about 2.5 feet apart covers a 20-foot perimeter, which wraps around a 10x12 patio layout almost exactly.
GIGALUMI's solar stakes go into the ground right at the inside edge of your landscape edging. They charge in about 6 hours of direct sun and run for 8 to 10 hours overnight. No timer setup, no extension cords, no electricity cost.
GIGALUMI Solar Pathway Lights Outdoor, 8 Pack
$34
11,200+ reviews
Stakes into the ground at the patio edge with no wiring needed, charges in 6 hours and runs 8 to 10 hours overnight in warm white light.
Shop on Amazon →Quick Tips for Building a Pea Gravel Patio
- Excavate 4 inches deep, not 2. You need room for a 2-inch compactible gravel base and 2 inches of pea gravel on top. Going shallower means the finished surface sits above grade and gravel spills out every time it rains.
- Use 3/8-inch pea gravel, not 3/4-inch. The smaller size is more comfortable underfoot, shifts less when you walk on it, and looks better under furniture. The larger size feels unstable and migrates toward edges faster.
- Overlap your landscape fabric seams by at least 6 inches. Weeds find any gap. A 6-inch overlap with landscape staples every 12 inches at the seam gives you a barrier that holds for multiple seasons without lifting.
- Buy gravel by the ton from a landscape supplier. A 10x12 patio at 2 inches deep needs roughly 0.75 tons of pea gravel. Bulk pricing from a local supplier costs about half of what bagged gravel costs for the same volume.
- Put rubber caps on furniture legs. Thin metal legs on chairs and tables sink into pea gravel over time. Rubber furniture feet or small flat stepping stones under each leg keep things stable and protect the weed barrier below.
- Grade away from the house before laying fabric. Any water that pools on the patio surface needs somewhere to go. A slight slope of about 1 inch per 8 feet away from the foundation keeps the gravel from sitting in puddles after rain.
Frequently Asked Questions
How deep should pea gravel be for a patio?
Plan for 4 inches of total depth: 2 inches of compactible gravel base at the bottom, tamped firm, then 2 inches of pea gravel on top. The base layer is what keeps the surface stable. Pea gravel alone over bare soil will sink and shift.
Do you need landscape fabric under pea gravel?
Yes, if you want the patio to stay weed-free past the first season. Fabric blocks weeds from pushing up through the gravel while still letting water drain through. Skipping it works short-term, but you will be pulling weeds out of the gravel by year two.
How do you keep pea gravel from spreading outside the patio?
Edging is the key. Solid plastic or steel landscape edging staked firmly into the ground at the perimeter physically stops gravel from migrating into the lawn. A small concrete mow strip along the outer edge makes it permanent.
How much does a pea gravel patio cost to build yourself?
A 10x12 pea gravel patio runs roughly $150 to $300 in materials including edging, landscape fabric, base gravel, and pea gravel. That does not include furniture or lighting. Hiring it out typically adds $500 to $900 in labor.
Can you put patio furniture on a pea gravel patio?
Yes. Bistro chairs, Adirondack chairs, and fire pits all sit well on gravel. Put rubber caps on thin metal legs to keep them from sinking, and choose furniture with a wider leg footprint if you want maximum stability on the surface.